Save Money and Time with Residential Painting Services
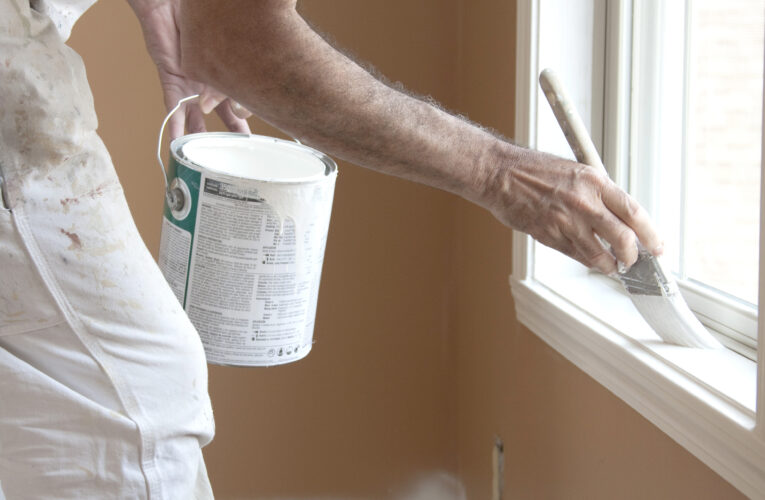
Hiring a reputable residential painting company can be a game-changer when it comes to giving your home a fresh, new look. They bring expertise and skill to the table and can also help you save money and time in the long run. This article will explore how residential painting services can be a cost-effective and efficient solution for your home improvement needs.
Professional Expertise Matters
One of the key benefits of hiring a residential painting company is their professional expertise. They have the knowledge and experience to assess your specific needs, recommend the right type of paint, and choose the best techniques for your project. This expertise ensures that the job is done efficiently and to the highest quality standards, preventing costly mistakes that could occur with DIY painting.

Time-Saving Solutions
Painting a house, especially a large project, can be incredibly time-consuming. Residential painting services have a team of skilled painters who can complete the job much faster than an average homeowner. This means you can enjoy your newly painted home sooner without the hassle of dedicating your weekends and evenings to the task.
Proper Preparation
Professional painters know that proper preparation is essential for a successful painting job. They will thoroughly clean and prime surfaces, repair any cracks or imperfections, and mask off areas that shouldn’t be painted. This attention to detail ensures that the paint adheres well and lasts longer, reducing the need for frequent touch-ups.
Cost-Effective Solutions
While it may seem like hiring a residential painting company is an added expense, it can actually save you money in the long run. Professionals can help you choose the right type of paint and finish that will be durable and long-lasting, reducing the need for frequent repainting. Additionally, their expertise minimizes paint wastage, making the most out of your paint investment.
Quality Assurance
You can expect high-quality assurance when you hire a reputable residential painting company. They take pride in their work and strive to deliver impeccable results. Many professional painters also offer warranties on their services, giving you peace of mind knowing that any issues will be addressed promptly and at no extra cost.
Safety First
Painting can be a hazardous task, especially when it involves working at heights or using certain types of paint. Professional painters are trained in safety protocols and have the necessary equipment to ensure their and your property’s safety. By hiring experts, you eliminate the risk of accidents or injuries that could occur during a DIY project.

Enhanced Curb Appeal
A fresh coat of paint can significantly enhance your home’s curb appeal, making it more attractive to potential buyers if you ever decide to sell. A well-painted exterior can also protect your home from the elements, preventing damage that could lead to costly repairs.
In conclusion, when it comes to residential painting, hiring a professional residential painting company can save you both time and money while ensuring high-quality results. Their expertise, time-saving solutions, and commitment to quality assurance make them a valuable investment for your home improvement projects. So, next time you’re considering a paint job, consider the advantages of bringing in the pros.