Why You Should Use affordable blinds

If you’re like most people, you’re always looking for ways to save money. Well, one great way to do that is by using soodsad rulood. Not only will you save money on your energy bill, but you’ll also be able to add some style and personality to your home. So why not give them a try? You won’t be disappointed.

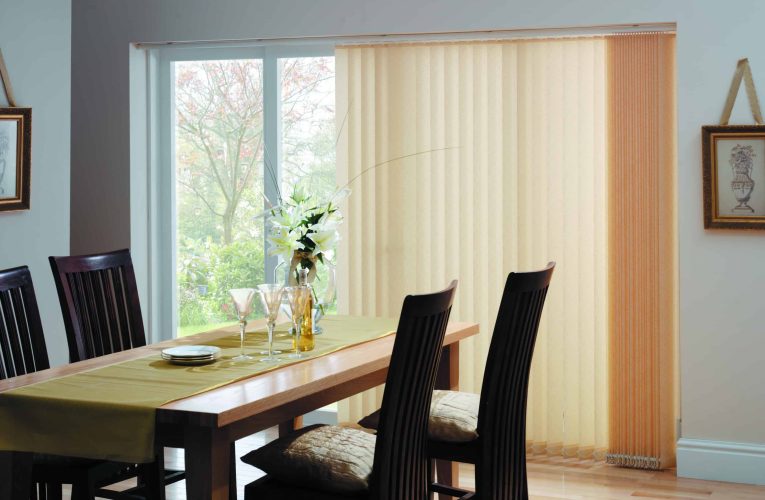
Blinds are a great way to add privacy and keep the sun out of your eyes

Blinds are an ideal investment for any home, providing numerous practical benefits while bringing a touch of style to any space. They are easy to install and come in an array of designs and colours that can match almost any decor. As the sun rises and sets, blinds have the power to instantly transform the atmosphere of a room by blocking out glaring light and reducing interior temperatures for improved comfort. Not only do they keep peeping neighbours out, but adjustable slats allow you control how much light comes into your property, making them a great choice for bedrooms and living rooms. With all these features plus their affordability, blinds provide daily convenience that set them apart from other window coverings – making them one of the top home enhancements anyone can make!

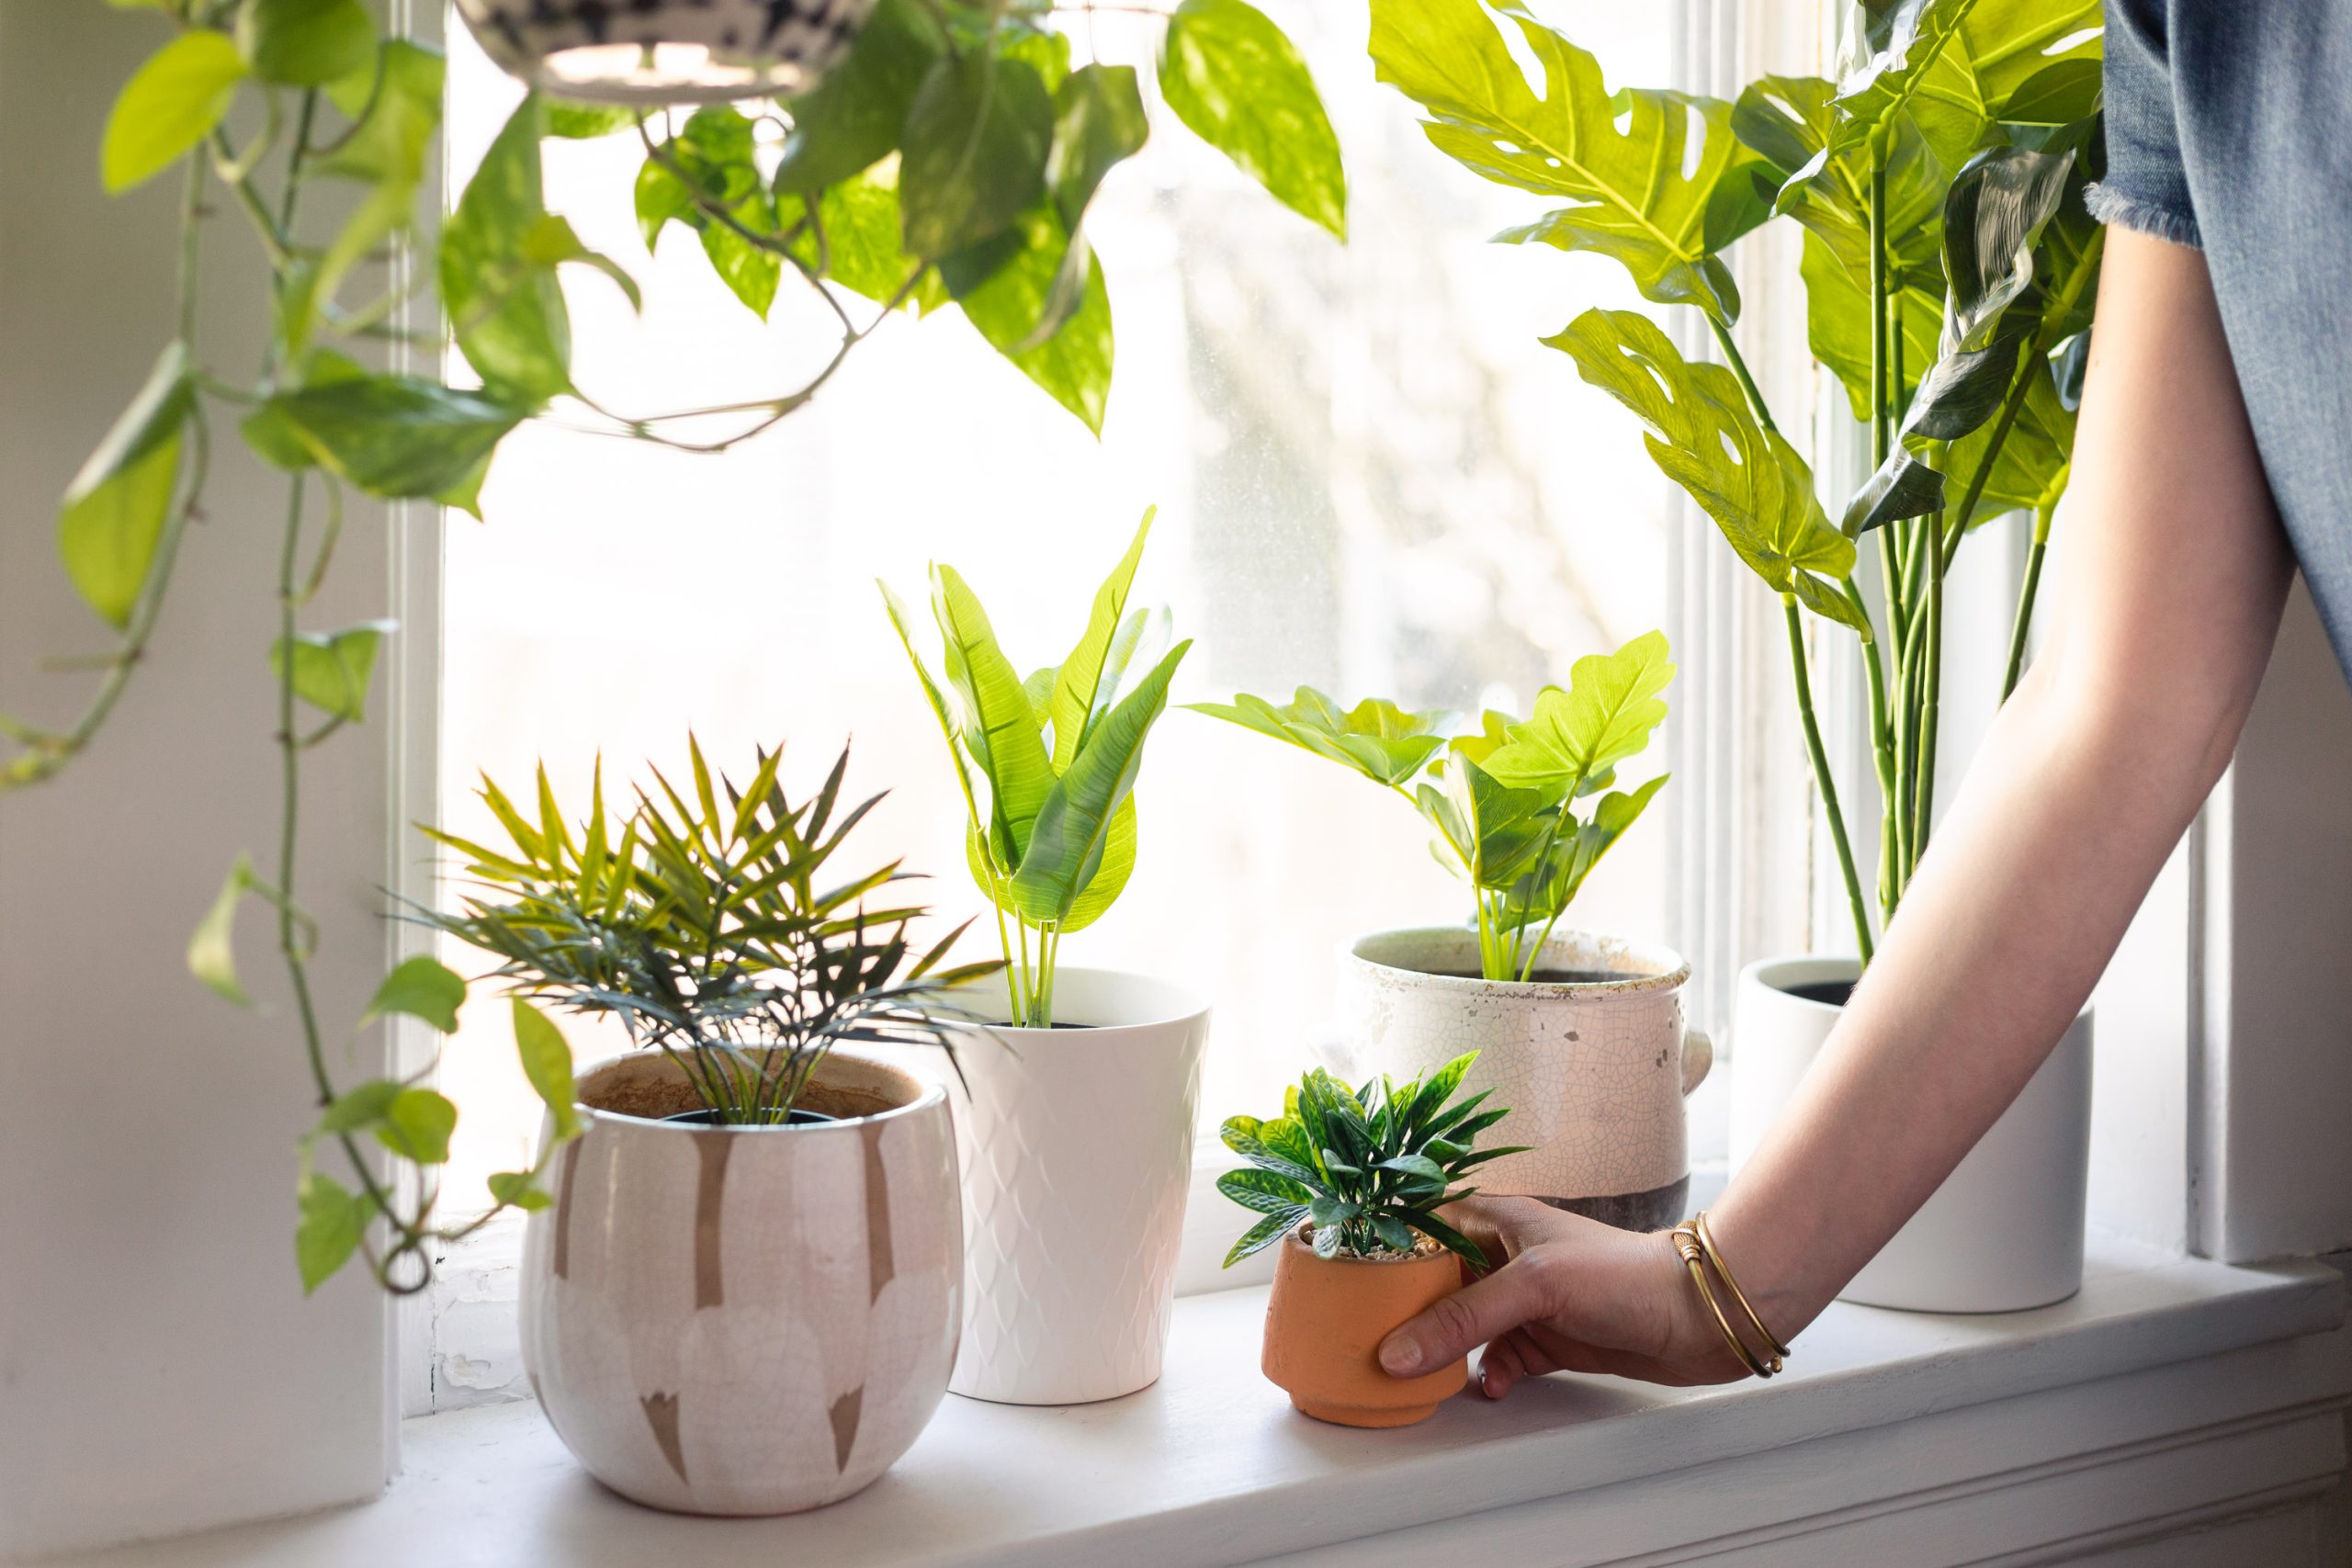
You can buy affordable blinds in a variety of colors, styles, and materials

With the wide range of style and material options for blinds nowadays, it has become easier than ever to find exactly what you’re looking for without sacrificing your budget. From blackout materials that are ideal for bedrooms and media rooms, to wood and faux wood styles in countless colors and textures, there is a perfect window covering option available at an affordable price. Allowing light to be managed without spending hundreds or even thousands of dollars can transform any room easily and quickly.

Blinds are easy to install and can be done by yourself

Blinds are a popular and stylish way to add privacy and light control to any room. Believe it or not, the process of installing blinds is quite simple, which means you can do it yourself! All you have to do is make sure your measurements are accurate before purchasing and then hanging the blinds up once you’ve got them in hand. Whether you’re a novice home improvement aficionado or an experienced DIYer, installing your own window treatments has never been easier with these straightforward instructions on how to hang blinds. You’ll be able to save money on installation costs, as well as make sure that your blinds fit precisely for maximum efficiency. It’s only a matter of understanding the basics – after that, things should fall into place!

They’re also easy to clean – all you need is a damp cloth

Though they often lack the style and colour of traditional curtains, blinds are a great choice when practicality is important. Not only are they easily adjustable to control light, but they’re also incredibly easy to clean. All you need is a damp cloth and a few minutes of your time; no special cleaning supplies or tools required. In this way, blinds are an excellent way to keep your home looking both tidy and stylish with minimal effort.

Blinds can help reduce your energy bills by keeping the sun out during the summer months

During the hot summer months, the sun can cause your energy bills to skyrocket as you try to keep your home cool. However, installing blinds on your windows can help keep those bills down. By blocking out some of the sun’s rays, they can help keep room temperatures steady and reduce your need to rely on air conditioning. Not only will this benefit your wallet, but it will eliminate a major source of energy waste, helping our environment in the process. So make sure to take advantage of blinds and other similar energy-saving devices and enjoy lower costs while doing your part for nature.

If you’re looking for an affordable, easy-to-install, and energy-saving way to cover your windows, blinds are a great option. You can buy them in a variety of colors, styles, and materials to match your home décor. And if you need some help installing them, our team is here to help.

The Most Common Complaints About Appliance Repair Services, and Why They’re Bunk

If you’ve ever needed to use an appliance repair service, you know that there are a lot of complaints out there. Everything from the quality of the service to the cost is often criticized. But are these complaints really accurate? Let’s take a closer look at the most common complaints about appliance repair services, and see if they hold up.

People complain that appliance repair services are too expensive

Appliance repair services in Vancouver can indeed be expensive, with even basic repairs costing significantly more than you might expect. The reality, however, is that there are hidden costs associated with appliance repair that savvy consumers should consider before deciding to take the plunge and pay a hefty fee for a service call. Time is money, and it can take weeks for certain parts to be shipped for job completion. As well, some of the more experienced technicians may charge more as they have experience working with more advanced appliances and know how to get them running again quickly and safely. While good deals are out there willing shoppers should do their homework before choosing a repair company to ensure they get the best value in the end.

People complain that appliance repair services take too long

Many people are quickly frustrated when they have an appliance that becomes broken, and need repair services. Rather than having to make a phone call, wait for the repair person to show up, and then wait for parts to be replaced or fixed, many people assume that it should take just one day – at most. Unfortunately, the reality is that appliance repair services can often be labor intensive or require special parts or additional resources that slow down the process. Still, people are rarely content with the expectations of waiting times and will often express great frustration at the seemingly-long waiting period.

People complain that appliance repair services don’t fix the problem

One of the most frustrating experiences is having your appliance stop working, and having to rely on an appliance repair service to get it up and running again. Unfortunately, more often than not, these services seem to only offer a temporary fix, with the issue cropping up again at some point in the future. People take to social media with complaints about how much money they pull out of their pockets just for the same issue to resurface or a new one to appear. It can be incredibly disheartening and prevent people from looking up repair services in the future; opting instead to invest in a newer model instead.

Why these complaints are bunk

When it comes to certain complaints about a particular situation, some might be justified, but others can simply be written off as nonsense. There is no denying that our current world has many of its own unique problems, but some people tend to exaggerate their grievances or make unfounded claims in order to stir up trouble. Instead of acting from an emotionally charged standpoint, it would behoove individuals to analyze the claims they are making and consider if they have real validity. After all, baseless assertions do a disservice to the real issues that need addressing. Such complaints can clutter up discussions and serve more of a distraction than impactful commentary on the situation at hand. It is vital that we take this into consideration when assessing what grievances are worth noting and which are merely hot air.

How to find a good appliance repair service

Finding a quality appliance repair service can seem like a daunting task, but with a few tips to guide you, you’ll be sure to find the help you need in no time. Begin your search by asking around for recommendations from friends and family members who have had good experiences. Once you’ve identified some potential services, look up their reviews on sites such as Angie’s List and Yelp, if available. It is also wise to ask about their warranties, fees and turnaround time for repairs. Don’t forget to research the customer responsibility agreement on offer as well, to ensure that everything is clearly explained and understood before committing to any work. Finally, read customer testimonials or speak with prior customers to get better insight into what they’re offering. With these tips in mind, there’s no reason why you won’t be able to locate an excellent appliance repair service!

Don’t let the complaints about appliance repair services deter you from finding a quality service to fix your broken appliances. Do some research to find a reputable company with fair prices and great customer service, like Jerry’s Appliance Repair. WithJerry’s Appliance Repair, you can rest assured that your appliances will be fixed quickly and efficiently by experienced professionals. Contact Jerry’s Appliance Repair today for all of your appliance needs!

6 Important Things To Know Before Building Your Own House

When building your own house, there are many aspects to be taken into consideration. One of the most important is a proper foundation for the new house. The foundation provides stability and support for the whole structure. You need to get it right or you will end up with problems in the future.

The foundation is one of the first things that you should get done before moving forward with other construction works. It’s very easy to make mistakes when dealing with foundations because they are so complicated. If you don’t know what to do, you could easily end up ruining your home by doing something wrong. Here are some tips on how to build a good foundation for your house:

If you have thought about the construction of your own house then you also have to do a plaatvundamendi ehitus which is a necessary part of it. As if you want to make your home look much better in compression of others home then it is must for you to have in your own home. People also try to understand the important aspects of it.

  1. Understand Your Site

Your site has to be checked carefully before starting any work. In order to do this, you have to understand certain factors about the soil composition, as well as its potential for shifting or sinking. This information will help you choose the best location for the foundation so that you can avoid potential complications later.

You also need to decide whether the soil is solid enough to support the weight of the house. It may seem like a simple task but you have to check and find out if the ground is properly compacted and stable. You can always hire a geotechnical engineer to perform these tests.

  1. Check For Subsurface Conditions

It’s essential to determine what kind of soil you have and if it is suitable for the foundation. You might want to dig holes and test the soil to confirm the type of material and whether it is stable. To get an accurate idea, you need to take samples of the soil that will be used in the foundation. These samples should be sent to a laboratory where they can be analyzed further.

  1. Build Footings First

Building a foundation begins with placing the footings for the concrete slab. This step is crucial because it forms the base of the entire structure. The footings have to be placed at least four inches below the frost line. They serve as the main supports for the foundation and the rest of the house. Make sure that the footings are strong enough to hold the load of the house. You can use a computer program to calculate the size of the footings.

  1. Calculate The Size Of The Foundation

To get the correct size of the foundation, you need to consider two different factors: the wall thickness and the length of the foundation. Usually, a standard foundation has walls that are 4 feet deep and 20 feet long. You also need to think about how big the basement area is.

The basement is where most of the utilities go into, such as water pipes, gas lines, electrical wires, etc. So, you have to make sure that it is large enough to accommodate all these needs.

In addition to this, you also need to think about how much weight the foundation can carry. This depends on the depth of the foundation walls. In general, a 10-foot-deep foundation can handle approximately 2,000 pounds per square inch of pressure. However, the actual number varies from place to place depending on the soil conditions.

In many cases, it is recommended to build a 10-foot-thick foundation. This way, you can avoid any major issues down the road since your house will be built on top of a firm foundation. However, you might want to consult a professional before making that decision.

  1. Choose The Right Type Of Concrete

Once you have decided which type of concrete to use, it’s time to pour the concrete. There are several types of concrete available on the market today, each with their own unique properties. Before deciding which type to use, you have to evaluate various factors including durability, cost, strength, and setting time. All of these factors will affect the final quality of the concrete.

Different types of concrete can either require more time to set or allow the concrete to be mixed and poured within minutes. Each option has advantages and disadvantages, so you need to weigh them against each other. In many cases, a mixture of Portland cement and sand is considered the best choice. It’s durable and can withstand extreme weather and temperature changes.

You can also buy ready-mix concrete, which means that everything is already mixed together. This allows you to save time and money. But this doesn’t mean that the mixture is perfect, which would result in a weak foundation. You need to be careful not to add too much water to the mix, otherwise, the concrete won’t harden properly.

  1. Finish The Foundation

After pouring the concrete, you should let it dry for a few hours before beginning the next steps. Once it is dry, you can start putting the finishing touches on the foundation. You should seal the joints and cracks in between the concrete slabs. Also, you should fill in any areas that were exposed during the process.

Next, you can install the drainage system that will lead water away from the foundation. This is especially important if you live in a wet climate. Finally, you should put in any necessary plumbing, electrical wiring, and heating systems.

Now that you finally finished building the foundation, you can move forward with other tasks. You can finish the interior of the house, lay the flooring, fix the windows, doors, and roof, and even paint the exterior. After all of these steps, you will be able to move into your beautiful new house!

Why You Should Use Artificial Plants

Artificial plants are great for creating a natural-looking environment, but they can be hard to install. You need to know how to fix an artificial plant that’s been knocked over or fallen off. Brise vue végétal artificiel can also be used as a natural screen at your home to create privacy from the outside world

The first step is to determine if the plant was knocked over accidentally or fell from its original location and suffered damage in transit. Plants that have been moved by gravity usually don’t require much work to repair. If the plant has fallen and landed against something hard like a cabinet or a piece of furniture, however, it may not survive.

If the plant did fall and break, remove all of the broken pieces using your fingers or tweezers and then soak them in warm water. After soaking, gently pull apart any remaining pieces with your fingers or tweezers. Once you’ve removed any large shards, cut away any other small fragments with scissors or your knife. Take care to avoid cutting into the roots of the plant and make sure you remove all of the dirt around the base of the plant as well.

Once you’ve removed any sharp pieces and cleaned up the dirt, place the plant back in the soil where it originally grew. This will help keep moisture inside the pot and give the plant time to recover. Check back later to see if the plant has started to grow again. If so, you’re ready to repot the plant into a larger container.

On occasion, some plants just won’t stay put. Perhaps because of poor construction or poor installation, these plants tend to fall over when they’re young. Or maybe you just didn’t properly secure them when you initially planted them. Whatever the case may be, there are several ways to get them back on their feet again.

Fixing a falling flowerpot

Flowerpots are designed to hold flowers and other plants. They’re typically made out of plastic or ceramic, and they come in a variety of shapes and sizes. Some pots are hollow to better accommodate the growth of the plant inside while others are solid to keep the plant contained within the pot. In either case, flowerspots often topple over as the plant grows and tries to escape.

To help prevent this from happening, you’ll want to use a sturdy stake to keep the pot in place once you’ve placed the plant inside. The ideal method involves placing the stake at each corner of the flowerpot and then wrapping tape around the entire pot and stake to keep everything anchored together. It might seem counterintuitive, but the key here is to wrap the tape evenly around the pot and stake to ensure a proper fit. Otherwise, the flowerpot could slip when the plant starts growing and try to escape. Wrap the tape tightly enough so that it doesn’t loosen up as the plant grows and that the stake remains firmly in place.

If you can’t find a way to stabilize the flowerpot without using tape, you can always add a few more stakes. Just make sure that the extra stakes are long enough to reach above the top of the soil line and extend far enough below the bottom edge of the pot to provide additional support.

Repairing a broken vase

In addition to its role as a decorative centerpiece, vases also serve an important function by protecting delicate flower buds from being damaged by harsh elements such as wind and cold weather. Vases aren’t indestructible, though, which means they can break down over time. Just like with a flowerpot, a cracked vase isn’t necessarily irreparable.

If you suspect that a vase has been damaged, the best option is to replace it rather than attempt repairs. Before you go ahead and purchase a new one, however, take a moment to check the bottom of the vase to make sure that it hasn’t already separated from its original base. If so, you’ll need to find a replacement mold that fits securely around the bottom of the vase before you start looking for a new vase.

You can also look online to find a suitable replacement vase. When you’re shopping for a replacement, consider the size of the vase, the style and color of the vase, and whether you’d prefer a clear or opaque vase. Once you’ve narrowed down your search, look for a vase that’s similar in shape and design to your old vase. You can even use the same type of glue that was used to attach the vase to the original stem to reattach the vase after you’ve replaced the stem.

If it’s too late to replace the vase, you can still salvage it by removing the broken sections individually. Then, you can clean up the interior of the vase and fill it with some fresh soil to keep the plant happy. When you’re done, simply reassemble the vase and let it dry out completely before planting the plant inside.

Sticking an artificial plant back in its pot

Sometimes, even after you’ve taken every precaution to ensure that the plant stays in place, it refuses to stay put. That’s especially true if you’ve installed the plant in a flowerpot. Sometimes, the plant is just too heavy for the pot to bear and it falls over. Other times, the plant gets caught on a branch or another part of its own infrastructure and can tip over. Regardless of what caused the problem, there are a couple of things you can do to try to save the day.

First, examine the pot closely to determine whether there’s anything that may have been dislodged during transport. If so, you’ll need to move the plant elsewhere until you’ve repaired whatever broke loose. While you’re waiting for the plant to recover, take a moment to soak all of the dirt out of the pot and carefully remove any bits of debris from the soil. Also, reattach the plant to the original stake or other support device using the same glue that you used when you initially installed the plant.

Another solution to the problem is to simply repot the plant. By replacing the plant with a bigger one, you’ll be able to accommodate its increased size and weight. If you don’t have access to a bigger pot right now, however, you can improvise by filling the empty space between the plant and the pot with some moist soil and letting it sit overnight. When you wake up the next morning, the soil should have absorbed most of the excess water and the plant should be stable again. Of course, if the soil is dry or you think that the plant needs more water, you can always add a little more water to the soil before putting the plant back into the garden.

As you can see, artificial plants aren’t nearly as difficult to care for as real ones. If you know how to properly handle the plants you grow, you shouldn’t have any problems keeping them alive. And by following these simple tips, you should be able to get your artificial plants up and running in no time!

How A Person Can Get Good Results From The Heat Pumps?

Heat pumps can be used for both heating and cooling. They are used in many homes during winter months or when the outdoor temperatures drop below freezing. Heat pumps are very efficient, but you do need to pay attention to how they work. 

When your home has an air conditioner, it uses either electricity or gas to run the compressor that blows cold, dry air into the house. This process is called a reverse cycle AC (RCAC). The heat pump uses refrigerant to circulate through pipes that connect inside your home to outside the house. As this happens, the heat pump absorbs heat from the outside and transfers it into the house. In other words, it’s like a big heater with a fan. 

The heat pump will also use some of the heat it gets from the outside to warm up the water in your hot water tank. This is important because without this warming up, you would have cold water coming out of the faucet. If you don’t have a hot water tank, then the heat pump is going to warm up tap water. That said, there are some energy costs associated with running a heat pump – so if you’re not using it often, it might make sense to turn it off when you aren’t home. 

If you have a heat pump that runs continuously, it will use more electricity than one that only runs when you want to cool down your home. It depends on the size of the heat pump and how much insulation your home has. A small, medium, or large heat pump would likely cost around $1,000, $2,500, and $3,000 respectively, according to EnergySage.com. You should look at the price of the heat pump, as well as the price of electricity, to determine whether it’s worth it to keep the heat pump running all the time. 

In addition, a heat pump will save you money on your utility bill. According to the U.S. Department of Energy, a heat pump uses approximately $0.11 per kWh, whereas a standard AC unit uses about $0.22 per kWh. However, a heat pump will still use electricity even when it isn’t operating. So, that means that the energy savings aren’t quite as significant. 

According to the American Council for an Energy-Efficient Economy (ACEEE), some of the best ways to save energy include turning down the temperature setting and leaving your doors and windows open. Turning the heat down by 2 degrees Fahrenheit will reduce your annual energy bill by 10 percent, according to ACEEE. Leaving your doors and windows open can help lower your monthly energy bills by about 8 percent. Also, try to replace older appliances with newer models. These new appliances are typically more energy efficient. 

Also, consider replacing old furnaces with newer ones. Older furnace models tend to be less efficient and may take longer to heat your home. 

Another way to lower your energy consumption is by adding insulation to your attic, which helps keep the heat in your home. Insulation can cost anywhere between $200 and $400, depending on where you live in the country. 

There are several other things you can do to lower your energy usage. One example is having a programmable thermostat. Programmable thermostats allow you to control when you want your heat to come on and go off. With this kind of thermostats, you can set them to heat your home when you get home from work, and then turn them back off while you sleep. This reduces the amount of time that your heat is on, thereby reducing your energy bills. Another option is to buy a smart thermostat. These kinds of devices can monitor how frequently you turn your heat on and off. And, they can automatically adjust the temperature based on things such as room occupancy. 

As far as keeping a heat pump on all the time, there are two main reasons why this might happen – either you forgot to turn it off, or you didn’t realize how much electricity it was costing. This is because most people don’t think about their electricity bill until it’s too late! To prevent this, it’s always best to check your bill every month to see what your current usage is. Then, if you notice that you were charging more than usual, you’ll know what to do next time you turn it on. 

You can also look at the electric company’s website to find out if your energy supplier offers rebates for installing a heat pump. Many companies offer rebates on the installation of heat pumps, especially if they are new heat pumps. There are also government programs available. For instance, in 2020, the federal government offered $7,500 to those who purchased a heat pump in the last year. 

There is a variety in the cost that a person has to pay in soojuspumba paigaldus. If the person will have the complete detail ten reaching the goals will be easy. A person should do the complete research and choose the option that will prove to be a good one. The main motive of the people is to reach their goals in an effective manner.

So, to answer the question, “is it better to keep a heat pump on all the time?” – the answer is yes and no. It really depends on how much electricity you use, the size of your heat pump, and how much money you have to invest in improving your home’s energy efficiency.