Quick Fixes: Emergency Plumbing Solutions Before the Plumber Arrives

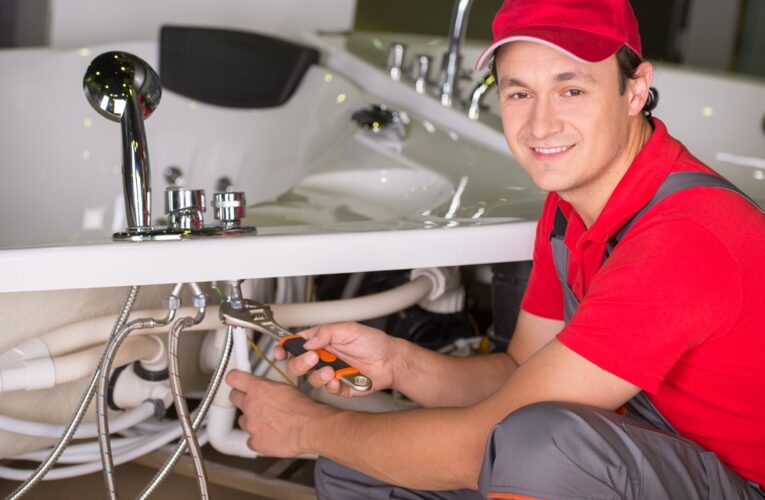
Emergencies often strike when we least expect them, and plumbing issues are no exception. A burst pipe, a leaky faucet, or a clogged drain can cause chaos in your home and leave you scrambling for solutions. While waiting for the υδραυλικοσ to arrive, there are several steps you can take to mitigate the damage and potentially solve the problem temporarily. Here are some emergency plumbing fixes you can do on your own:

Shut Off the Water Supply: Before attempting any fixes, turning off the main water supply is crucial to prevent further flooding or damage. Locate the shut-off valve, typically found near the water meter or where the main line enters your home, and turn it clockwise to stop the water flow.

Contain the Leak: If you’re dealing with a leaky pipe or faucet, containing the leak should be your immediate priority. Use buckets, towels, or rags to soak up excess water and prevent it from spreading to other areas of your home. Placing a bucket under a dripping pipe can also help collect water and minimize the mess.

Unclog Drains: A clogged drain can disrupt your daily routine and cause inconvenience. Try using a plunger to dislodge the blockage by creating a vacuum and forcing the obstruction to move. For stubborn clogs, a mixture of baking soda and vinegar followed by hot water may help break down the debris. Avoid using chemical drain cleaners as they can damage your pipes and the environment.

Patch Leaky Pipes: If you discover a small crack or hole in a pipe, you can attempt to patch it temporarily until the plumber arrives. Use plumber’s tape or epoxy putty to seal the leak and prevent further water damage. Make sure to follow the product instructions carefully and apply the patch securely.

Address Frozen Pipes: In cold climates, frozen pipes can significantly threaten your plumbing system. If you suspect that a pipe has frozen, turn off the water supply immediately to prevent bursting. You can then attempt to thaw the pipe using a hairdryer, heat lamp, or electric heating pad. Never use open flames or excessive heat, as they can damage the pipe or pose a fire hazard.

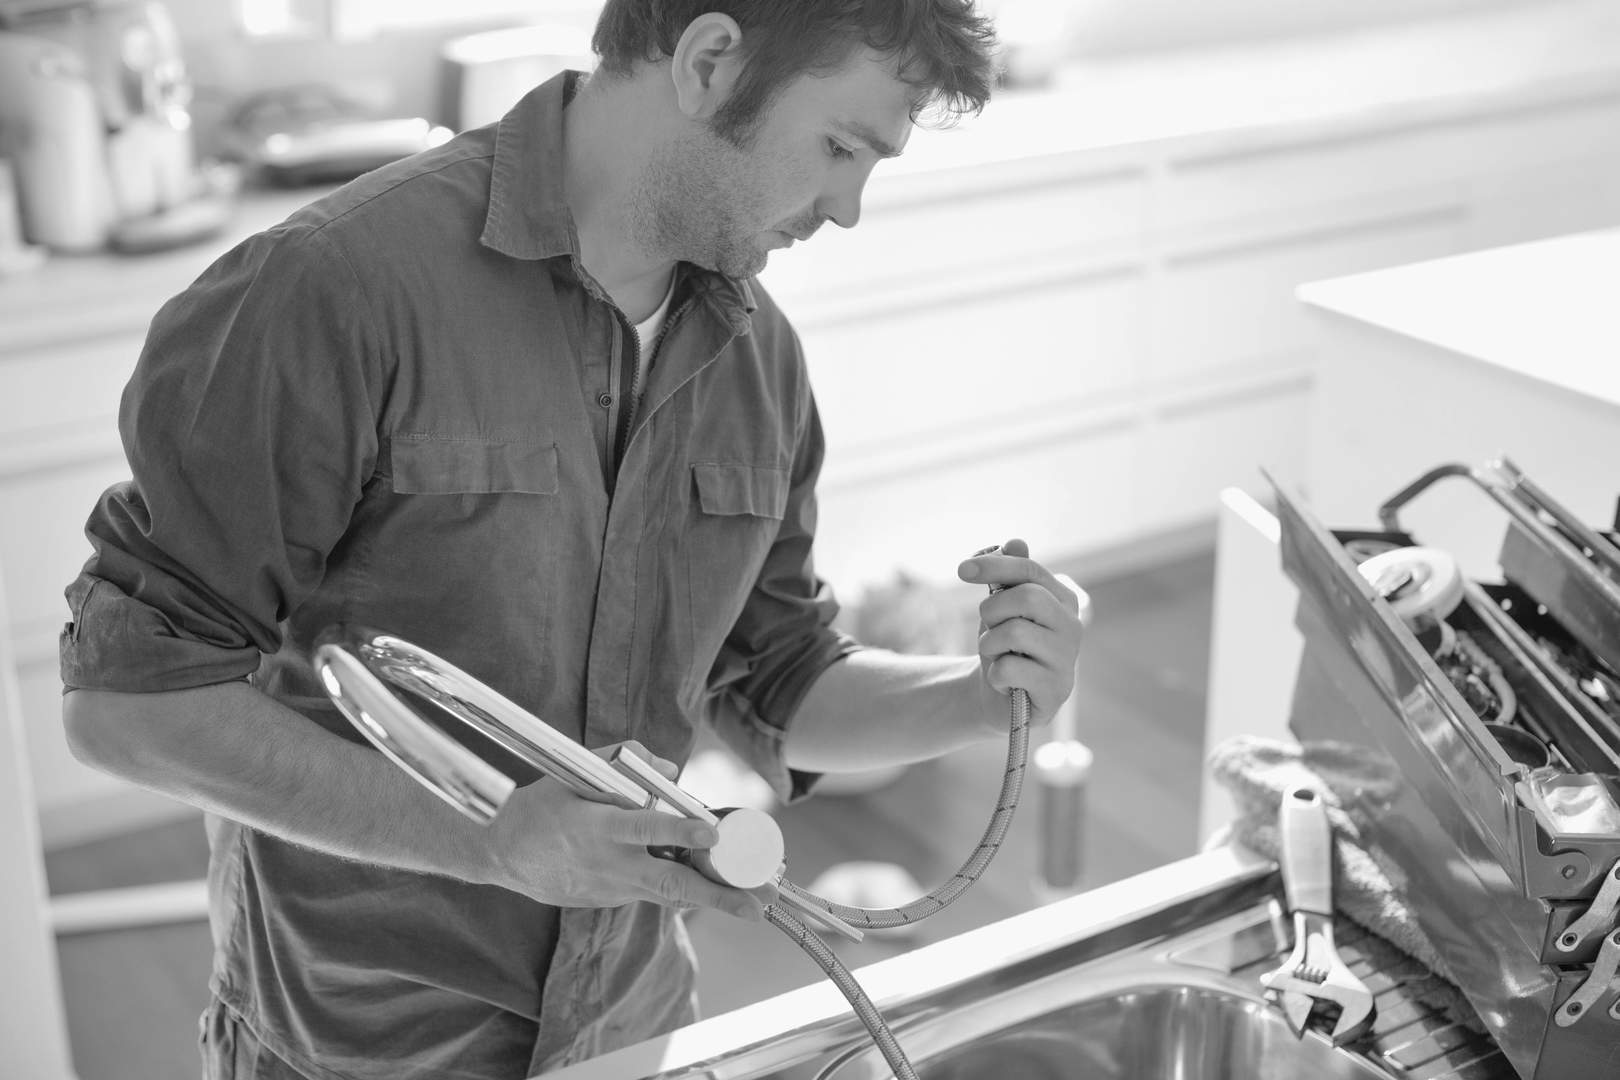
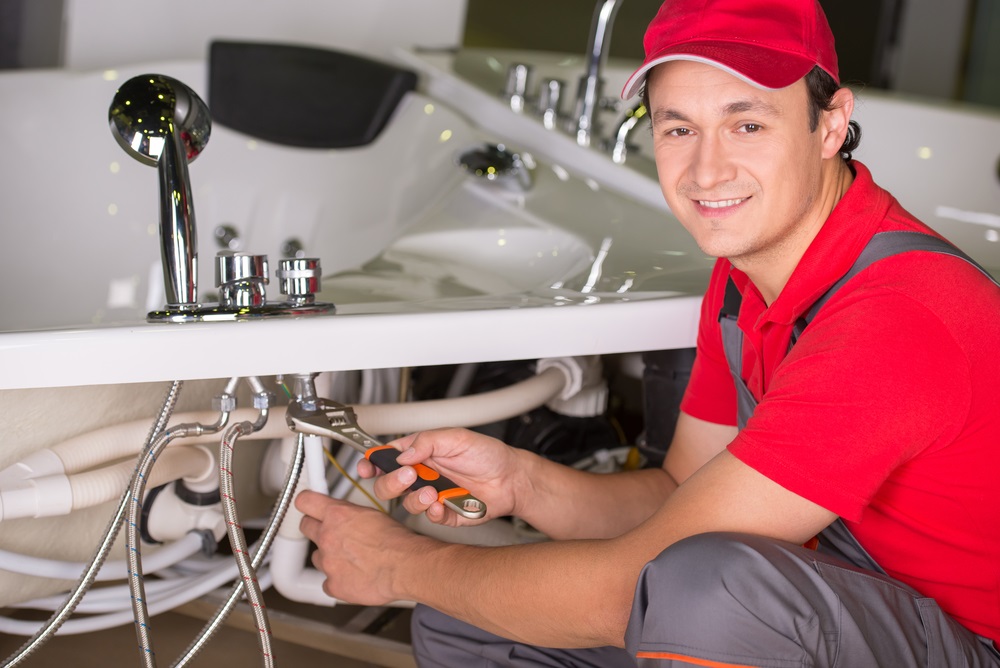
Check Fixtures and Connections: Inspect your faucets, showerheads, and toilet connections for any signs of leaks or loose fittings. Tighten connections with a wrench and replace worn-out washers or gaskets to prevent water wastage and damage.

Utilize a Wet-Dry Vacuum: A wet-dry vacuum can be a lifesaver if you’re dealing with a flooded area. Use it to extract standing water from floors, carpets, and other surfaces to prevent moisture-related issues such as mold growth and structural damage.

Transforming Your Aquarium With Lava Rock: A Simple Guide and Tips

Adding lava rock to your aquarium can enhance its aesthetic appeal and provide a natural and functional environment for your aquatic friends. Lava rock, with its porous texture, offers an ideal surface for beneficial bacteria to colonize, contributing to the biological filtration of your tank. If you’re wondering how to prepare lava rock for your aquarium, fear not! This simple guide will walk you through the steps, ensuring a smooth process and a stunning result.

1. Selecting the Right Lava Rock

Before diving into the preparation process, choosing the right type of lava rock is crucial. Opt for lava split rocks, as they provide more surface area for bacteria colonization. The term “lava split” refers to rocks that have undergone a process to create crevices and openings, maximizing their effectiveness in aquariums.

2. Cleaning the Lava Rock

Once you have your lava split rocks, it’s essential to clean them thoroughly. Rinse the rocks under running water to remove any dust or debris. Use a soft brush to scrub the surfaces, ensuring that no unwanted particles are left behind. This initial cleaning step is vital for creating a pristine environment for your aquarium inhabitants.

3. Boiling for Sterilization

To further ensure the cleanliness of the lava rock, consider boiling them. Boiling not only sterilizes the rocks but also helps to remove any residual impurities. Allow the rocks to boil for at least 15-20 minutes, then let them cool before handling. This process is particularly important if you’ve sourced the rocks from outdoor environments.

4. Soaking in Dechlorinated Water

After boiling, it’s time to soak the lava rock in dechlorinated water. This step helps to remove any chlorine or other chemicals that may have leached into the rocks during the sterilization process. Soak the rocks for at least 24 hours, ensuring they are completely submerged. This ensures that introducing the lava rocks won’t adversely affect your aquarium water.

5. Arranging the Lava Rocks in the Aquarium

Now that your lava rocks are clean and ready, it’s time to get creative with their arrangement in the aquarium. Consider creating caves and hiding spots for your aquatic inhabitants. Play with different heights and groupings to achieve a visually appealing layout. Remember to leave open spaces for water circulation, promoting a healthy and well-balanced environment.

6. Monitoring Water Parameters

Once the lava rocks are in place, monitor your aquarium’s water parameters regularly. The introduction of lava rock may initially affect the water chemistry, so keeping a close eye on parameters like pH and ammonia levels is essential. Make adjustments as needed to maintain a stable and healthy aquatic environment.

7. Observing Bacterial Colonization

Over time, beneficial bacteria will colonize the porous surfaces of the lava rock, contributing to your aquarium’s biological filtration. Patience is key during this phase. Avoid disturbing the rocks excessively, allowing the bacteria to establish and thrive.

8. Maintenance and Cleaning

Regular maintenance is crucial to keep your aquarium in top condition. Periodically clean the lava rocks by gently scrubbing away any algae or debris that may accumulate. Be cautious not to disturb the beneficial bacteria colonies in the process.

Breaking The Rules With Bold And Unique Painting Ideas

In art, rules are often seen as guidelines rather than strict boundaries. Throughout history, artists have pushed boundaries, experimented with unconventional techniques, and embraced innovation to create masterpieces that defy traditional norms. This sentiment holds true in painting, where breaking the rules can lead to breathtaking and truly unique artworks. In this article, we will explore the exciting realm of unconventional painting ideas provided by brilliant painting services that challenge the status quo, encouraging artists to think outside the canvas.

1. Embracing Imperfection: Wabi-Sabi-Inspired Art

In pursuing perfection, artists often forget the beauty found in imperfections. Embracing the Japanese philosophy of Wabi-Sabi, artists can create paintings that celebrate the transient and imperfect nature of life. Experiment with textures, irregular brushstrokes, and subtle asymmetry to convey a sense of rustic beauty and simplicity.

2. Interactive Art: Incorporating Technology

Step into the future by combining traditional painting with modern technology. Integrate interactive elements, such as touch-sensitive paint or augmented reality, to engage viewers on a whole new level. These immersive experiences add depth and intrigue, transforming a static painting into a dynamic and evolving masterpiece.

3. Unconventional Canvas: Beyond the Rectangular Frame

Break free from the constraints of rectangular canvases. Explore unconventional surfaces such as old doors, vintage windows, or even three-dimensional objects. This challenges the traditional notions of a flat canvas and opens up new possibilities for creating visually striking and thought-provoking pieces.

4. Emotional Palette: Expressing Feelings through Color

Shift the focus from the subject matter to the emotions conveyed through color. Experiment with bold, unexpected color combinations to evoke specific feelings and moods. Dive into the psychology of color, using your palette to tell a narrative that goes beyond the literal interpretation of the artwork.

5. Textured Tales: Mixed Media Masterpieces

Combine various materials to add texture and depth to your paintings. Incorporate elements like fabric, sand, or even found objects to create a multi-sensory experience. Mixed media not only adds a tactile dimension but also tells a more intricate story through the fusion of diverse materials.

6. Reverse Painting: Unveiling the Unseen

Challenge the conventional order of layers by starting with the final layer first. Begin with the foreground and work backward, revealing hidden layers as you progress. This unique approach can lead to unexpected results and a sense of mystery, as the viewer uncovers the hidden intricacies of the artwork.

7. Negative Space Mastery: Less is More

Embrace the power of negative space, allowing it to play a leading role in your composition. Use deliberate emptiness to draw attention to the focal points of your painting. This minimalist approach can create a sense of balance and sophistication, showcasing the beauty of simplicity.

8. Surreal Realism: Blurring the Lines

Merge reality with the surreal by incorporating dreamlike elements into realistic scenes. Challenge the viewer’s perception by blending everyday objects with fantastical elements, creating a sense of wonder and curiosity. This juxtaposition of the ordinary and the extraordinary can result in visually captivating and intellectually stimulating artworks.

In conclusion, breaking the rules in painting opens up possibilities for artists willing to explore the unconventional. From interactive technology to textured mixed media, the opportunities are endless. So, go ahead, unleash your creativity, and paint outside the lines to create brilliant masterpieces that captivate and inspire.

Battling Basement Mold: Remediation Techniques and Prevention Tips

Mold growth is a common issue that many homeowners face, and it can be particularly troublesome in basements. Basements are often damp and have limited ventilation, creating the perfect conditions for mold to thrive. If you’re dealing with mold issues in your basement and need professional assistance, consider seeking out experts in mold testing NJ to assess the situation. This article will explore various remediation techniques and prevention tips to help you combat basement mold effectively.

Understanding the Dangers of Basement Mold

Before we delve into the remediation techniques and prevention tips, it’s essential to understand the potential dangers of basement mold. Mold can adversely affect your health, causing respiratory problems, allergies, and other health issues. Also, mold can damage your home’s structural integrity and decrease its value. Therefore, promptly addressing basement mold problems is crucial for your health and property.

Mold Testing NJ: Assessing the Severity

Before taking any remediation steps, it’s essential to determine the extent of the mold problem in your basement. Hiring a professional mold testing NJ service can comprehensively assess the situation. They will identify the type of mold present, its concentration, and the source of moisture contributing to its growth. This information is crucial for developing an effective remediation plan.

Removing the Source of Moisture

Mold needs moisture to thrive, so one of the first steps in remediation is identifying and addressing the source of moisture in your basement. Common sources include leaks, condensation, and poor ventilation. Repair any leaks and improve ventilation to create a less hospitable environment for mold.

Cleaning and Disinfecting

Once you’ve addressed the moisture issue, it’s time to clean and disinfect the affected areas. Depending on the severity of the mold infestation, you may need to hire professionals for this task. They will use specialized equipment and cleaning agents to ensure thorough mold removal. Be sure to follow safety precautions and wear protective gear when dealing with mold.

Proper Ventilation and Dehumidification

Improving ventilation in your basement is essential to prevent future mold growth. Consider installing exhaust fans or a dehumidifier to reduce humidity levels. Proper ventilation helps maintain a dry environment less conducive to mold development.

Use Mold-Resistant Materials

When renovating or finishing your basement, opt for mold-resistant building materials. These materials are designed to resist mold growth and can be a valuable long-term investment in preventing mold issues.

Regular Inspections and Maintenance

To prevent basement mold from returning, schedule regular inspections of your basement. Look for any signs of moisture, leaks, or mold growth, and address issues promptly. Maintenance and vigilance are key to mold prevention.

Conclusion

Dealing with basement mold can be a challenging task, but with the right remediation techniques and prevention tips, you can effectively combat this common problem. Remember that mold testing NJ services are available to assess the severity of the issue and guide you through the remediation process. By addressing the source of moisture, cleaning and disinfecting properly, improving ventilation, using mold-resistant materials, and conducting regular inspections, you can keep your basement mold-free and ensure a healthier living environment for you and your family.

Why Briquettes are the Smart Choice for Outdoor Heating

When it comes to heating your outdoor spaces, several options exist. From traditional firewood to propane and electric heaters, each has its own set of advantages and disadvantages. However, one option that stands out for its efficiency, affordability, and environmental benefits is cheap wood briquettes. In this article, we’ll explore why briquettes are the smart choice for outdoor heating and how they can enhance your outdoor experience.

1. Efficiency in Heating

One of the primary reasons why odav puitbrikett are a smart choice for outdoor heating is their high efficiency. These compressed wood blocks are designed to burn evenly and produce consistent, long-lasting heat. Unlike traditional firewood, which can vary in quality and burn time, briquettes provide a reliable source of heat, allowing you to enjoy your outdoor space for extended periods without constantly tending to the fire.

2. Environmentally Friendly

Concerns about environmental impact are on the rise, and for good reason. Many traditional heating methods, such as burning untreated firewood or using fossil fuels, release harmful emissions and contribute to air pollution. In contrast, cheap wood briquettes are an eco-friendly option. They are typically made from compressed sawdust and wood shavings, which are byproducts of the woodworking industry. By using these waste materials, briquettes reduce the demand for fresh timber and help minimize deforestation.

3. Easy to Store and Handle

Another advantage of using briquettes for outdoor heating is their convenience. Unlike bulky firewood logs, briquettes are compact and easy to store. They come neatly packaged in bags, making it simple to transport and stack them in your outdoor storage area. Additionally, their uniform shape and size make handling and loading the fire a breeze, reducing the mess often associated with traditional firewood.

4. Consistent Heat Output

Whether you’re looking to create a cozy atmosphere for a small gathering or heat a larger outdoor space, cheap wood briquettes offer consistent heat output. This reliability allows you to control the temperature to your liking, ensuring everyone remains comfortable throughout your outdoor gathering. No more worrying about sudden temperature fluctuations or running out of fuel in the middle of your event.

5. Cost-Effective Heating

When it comes to heating, cost-effectiveness is a significant factor. Briquettes are known for being an affordable heating option, especially when compared to propane or electric heaters. Since they burn efficiently and produce long-lasting heat, you’ll find that you need fewer briquettes to achieve the desired warmth, ultimately saving you money in the long run.

6. Minimal Ash Production

One common drawback of traditional firewood is the substantial amount of ash it generates. This can be messy and require frequent cleaning. Cheap wood briquettes, on the other hand, produce minimal ash residue. This not only reduces the cleanup effort but also contributes to a cleaner and more enjoyable outdoor environment.

7. Versatile Usage

While cheap wood briquettes excel at outdoor heating, they are versatile enough to be used in various settings. Whether you want to fire up your backyard grill, heat a patio, or even use them in your indoor fireplace, briquettes are a versatile option that can be adapted to various heating needs.

In conclusion, when it comes to outdoor heating, cheap wood briquettes are the smart choice for several reasons. They offer efficiency, environmental benefits, ease of use, consistent heat output, cost-effectiveness, and minimal ash production. By opting for briquettes, you can enhance your outdoor experience while minimizing your environmental footprint. So, next time you plan to enjoy your outdoor space, consider using briquettes as your primary heating source.